



Blog, Guides for you
Wallpapering from Scratch: How to Hang Wallpaper
Wallpapering walls isn't complicated. All you need is a few basic tools, wallpaper installation instructions and a little free time. In most homes, you can hang wallpaper in just a few hours. Want to learn how to prepare for wallpapering and apply the material to the wall? Use our guide!
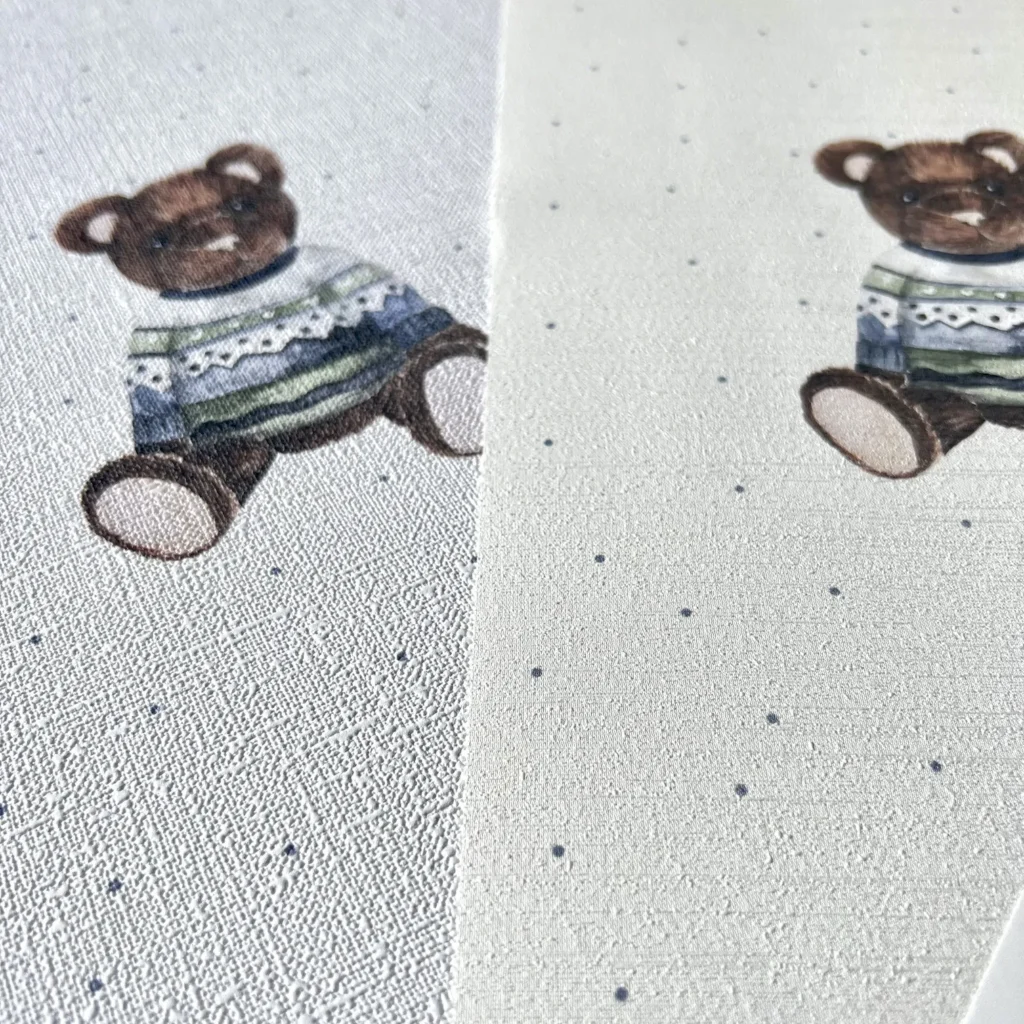
How to prepare a wall for wallpaper? Primer is key!
If you dream of beautiful home wallpapers, you should know that priming before hanging them is essential. Otherwise, the wall may be too damp, which can lead to mold under the wallpaper.
Preparing walls for wallpaper step by step:
- Clean the wall of dust, paint residue and grease stains;
- Check that the wall is dry, smooth and even;
- Fill holes and sand down small bumps;
Next, make sure to prime the surface. Why does it matter? Without primer…
- you'll later have problems with air bubbles in the wallpaper;
- there will be spots where the wallpaper and adhesive don't bond, and the material will start to peel.
If you don't prime the wall before wallpapering, the wall may absorb the adhesive. Then the wallpaper simply won't stick, and you'll just waste material.
Also check out the guide on our blog: How to hang vinyl wallpaper?
What tools will you need for wallpapering?
Whether you're hanging paper wallpaper or any other kind, you need similar tools and accessories. The most important are:
- a set of cloths and clean water to wipe up any adhesive that seeps out from under the wallpaper;
- a roller or brush for applying primer to the wall;
- a vacuum cleaner, because it's worth removing all dirt and dust from the wall before wallpapering
- a special roller for smoothing wallpaper on the wall – this tool will help you hang wallpaper quickly and precisely.
Now that you know how to prepare the wall for wallpapering and which tools you need… all that's left is to order the material in the right patterns, colors and dimensions. If you're looking for solutions tailored to your needs, order our custom-size wallpapers with a lead time of up to 7 business days.
Remember! If there's dust or other dirt on the wall surface, even the highest-quality wallpaper rolls won't adhere properly to it. This can affect how long your decoration lasts.
Discover our home wallpapers
-

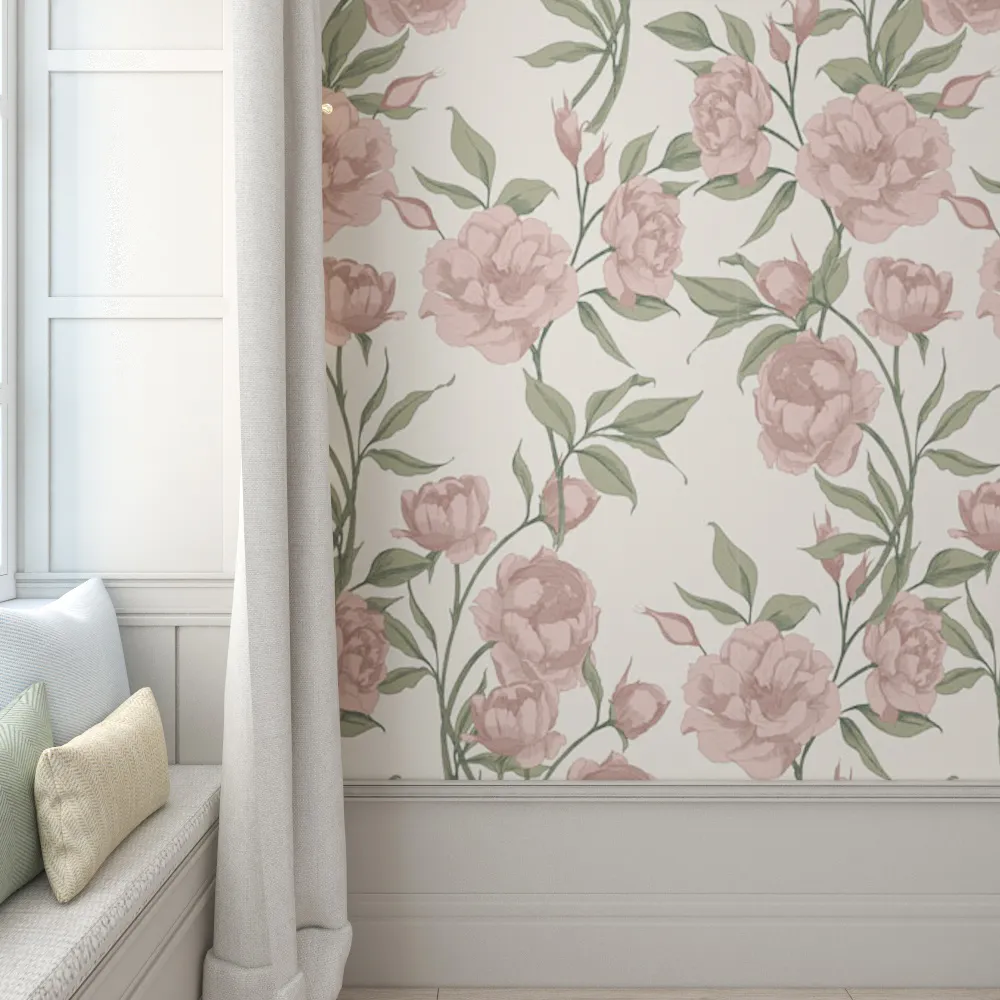
Large Pink Peonies Wallpaper
Od: 28,99 $ -
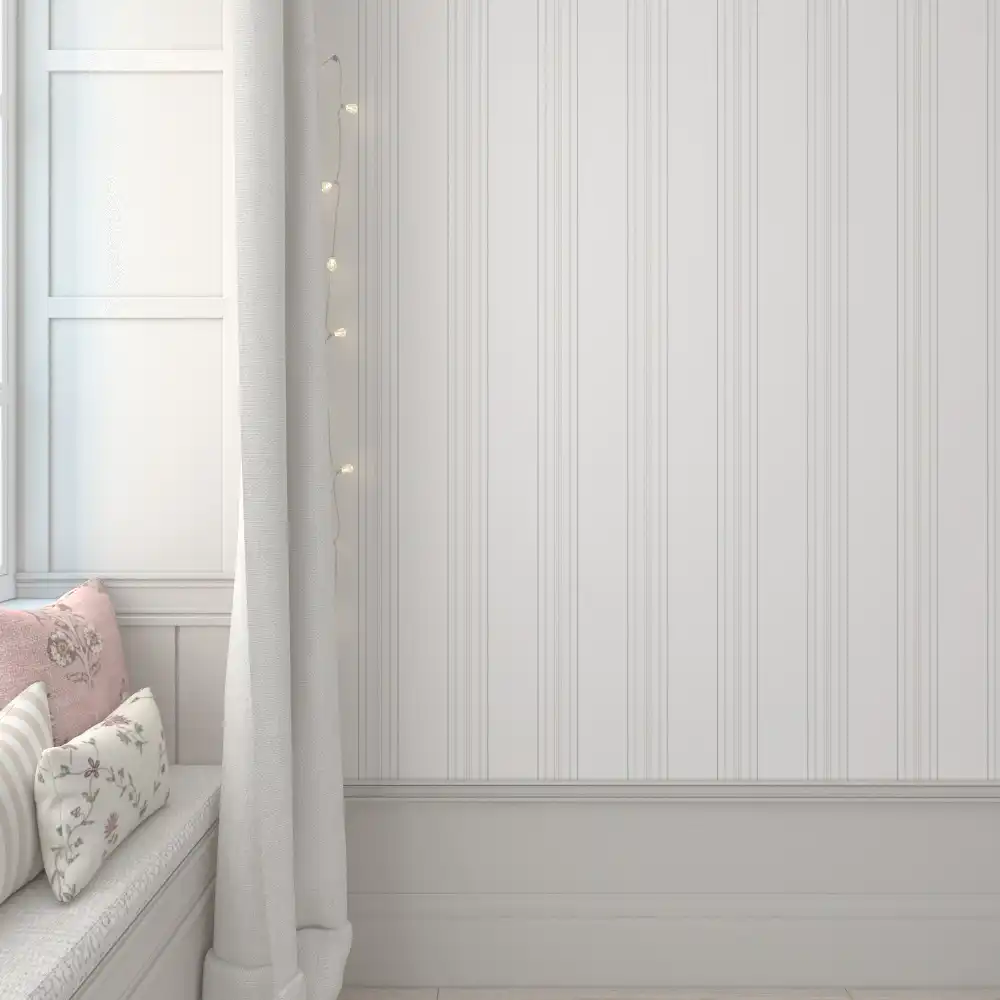
Peonies Pink Stripes Wallpaper
Od: 21,99 $ -

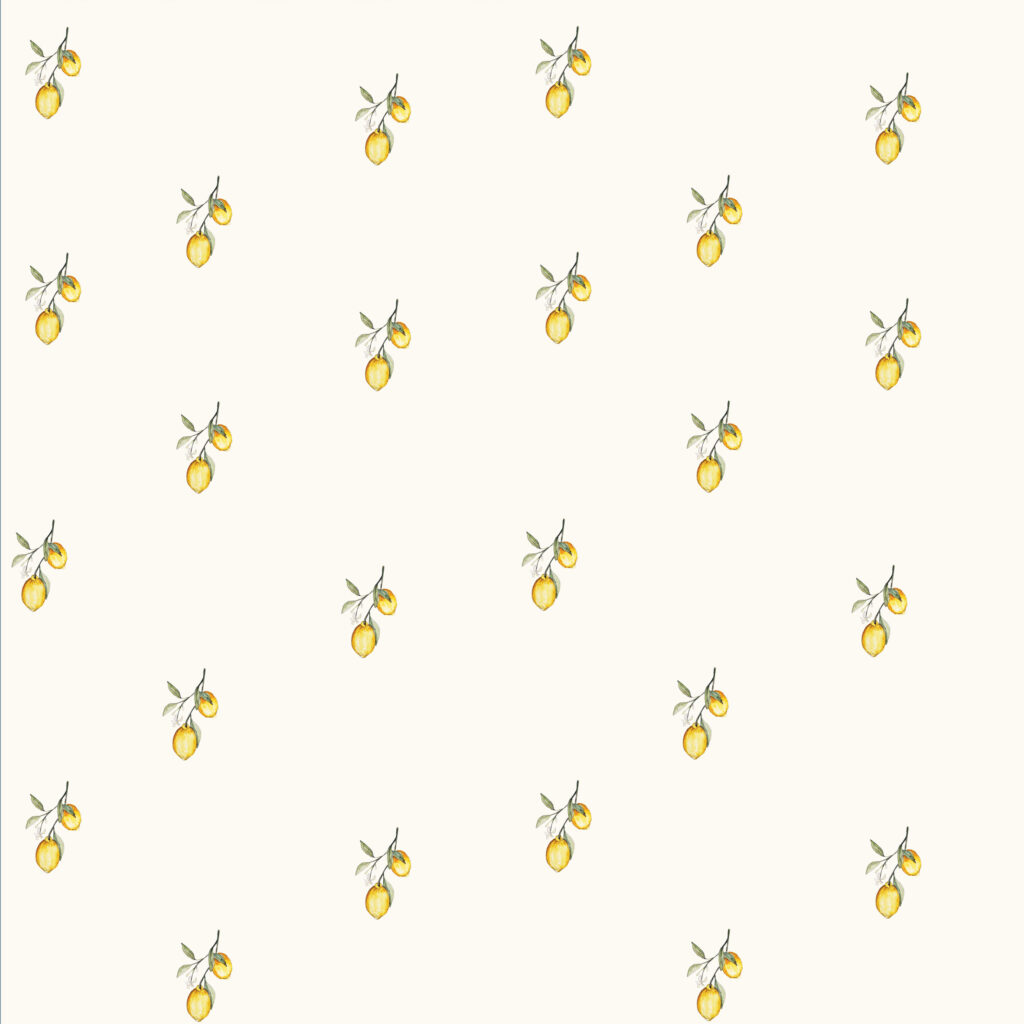
Lemons Wallpaper
Od: 21,99 $
Let's start wallpapering! Step-by-step instructions
Whether you'd like original wall murals, or a regular non-woven wallpaper, you should know exactly how wallpapering works step by step. We've prepared a few tips to help you carry out the whole process with care.
Step 1. Measuring and cutting the wallpaper
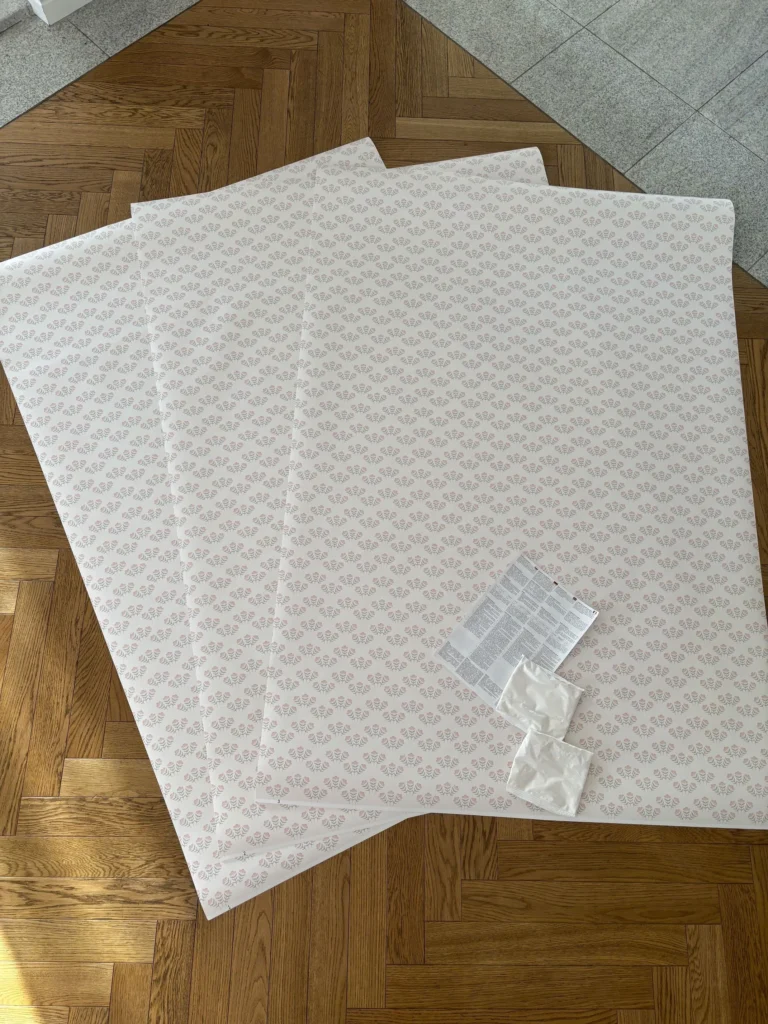
Start by measuring the wall height in several places. Add 5–10 cm (2–4 in) of extra length to each strip. Lay out the cut strips in the order you'll hang them – this makes the job easier and faster. Before that, also check the wallpaper symbols. The individual sheets are marked so you can easily arrange them in the right order and direction.
Cut the wallpaper with a special wallpaper knife. It must be sharp enough so you don't fray the edges.
Step 2. Preparing and applying adhesive – where and how much?
It helps to know how to mix wallpaper paste, but that's not all. First, determine what type of wallpaper you're hanging. How you apply the adhesive depends on the material you've chosen, e.g. for thicker vinyl wallpapers, apply adhesive directly to the material, while for non-woven ones, apply it only to the wall surface.
Step 3. The most important moment: hanging the first strip
Start by marking a vertical line with a level or laser. This will be your starting point. If you get this step precise, hanging the rest of the wallpaper will be problem-free and you'll get a WOW effect when you're done.
Remember! The first strip must be perfectly straight, because everything else depends on it. Stick the strip from the top, leaving a few centimeters of extra length at the ceiling, though there's no strict rule. If your ceilings are even, you can hang the wallpaper right up to the ceiling.
Step 4. Matching the pattern and hanging the next strips
Match each strip precisely to the pattern and don't leave gaps. Hang the strips edge to edge (“butt joint”) or with an overlap, according to the instructions. Don't pull the wallpaper by force, as it may stretch and distort the pattern – or, in extreme cases, tear into pieces.
Step 5. Removing air bubbles and smoothing the wallpaper
After hanging each strip, smooth it from the center outward using a squeegee or roller. Check for bubbles under the wallpaper, and if there are any, gently push them out. Finally, press the seams with a soft cloth, and that's it.
Tricky spots and wallpapering – we've got solutions!
Or maybe you're looking for an interesting way to design your home's interior? If so, check out our ideas for combining wallpaper with wall paint. There are lots of possibilities, and it's up to you how you use wallpaper in your house or apartment!
You may know the wallpapering procedure by heart, but sometimes you have to hang wallpaper in unusual places. What then? Without knowledge and experience, you might run into trouble.
Examples?
- In corners, don't hang one wide strip. Cut it and wrap it about 1–2 cm (½–¾ in) onto the adjacent wall.
- Around outlets, pipes and door frames, cut the wallpaper in a cross and smooth it from the center outward.
- If the wall has slopes or recesses, measure and cut the wallpaper dry – before using adhesive.
These are the basics for hanging paper, vinyl and non-woven wallpaper alike. Follow our tips, and you'll easily hang the wallpaper you've ordered, even in really hard-to-reach places.
How to hang wallpaper around windows and doors?
Here, bubble-free wallpapering is very important, as even a small bubble will be visible from afar. That could spoil the overall style of the room. Start with a full strip as close to the frame as possible, and press and trim the rest only after it's stuck. Cut the wallpaper along the edge of the frame and press it with a soft putty knife, always from the center to the edges. If you have trim moldings, remove them before wallpapering and put them back afterward.
Wallpapering corners – how to do it neatly?
Don't hang one wide strip across the whole corner – cut it into two narrower pieces. Wrap one piece onto the adjacent wall (about 1–2 cm), and match the other with an overlap, even a minimal one.
