



Guides for you
Stylish Retro Kids' Room Furniture from an IKEA IVAR Cabinet –
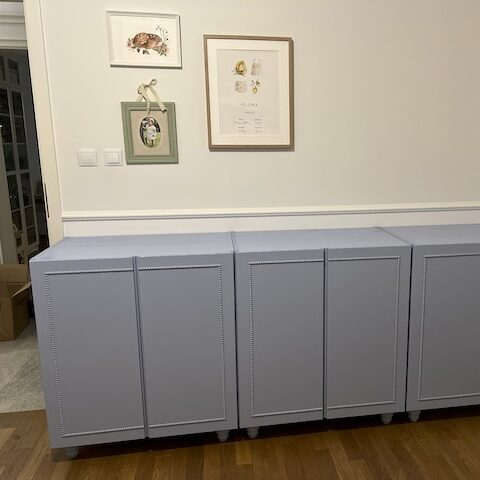
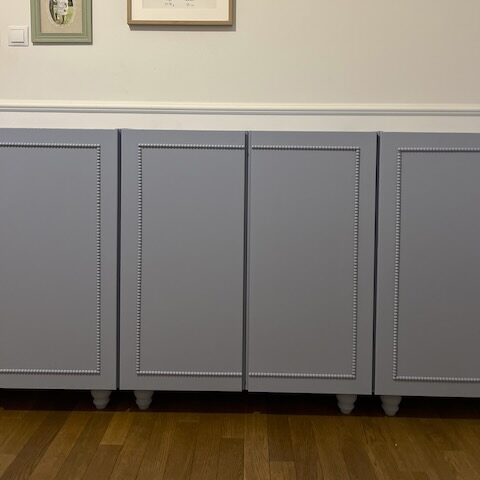
A retro-style kids' room can be not only beautiful but also budget-friendly. Today, I'll show you step by step how to turn an IKEA IVAR cabinet into a stylish retro piece that's perfect for a kids' room. The project is simple, and you'll love the final result!
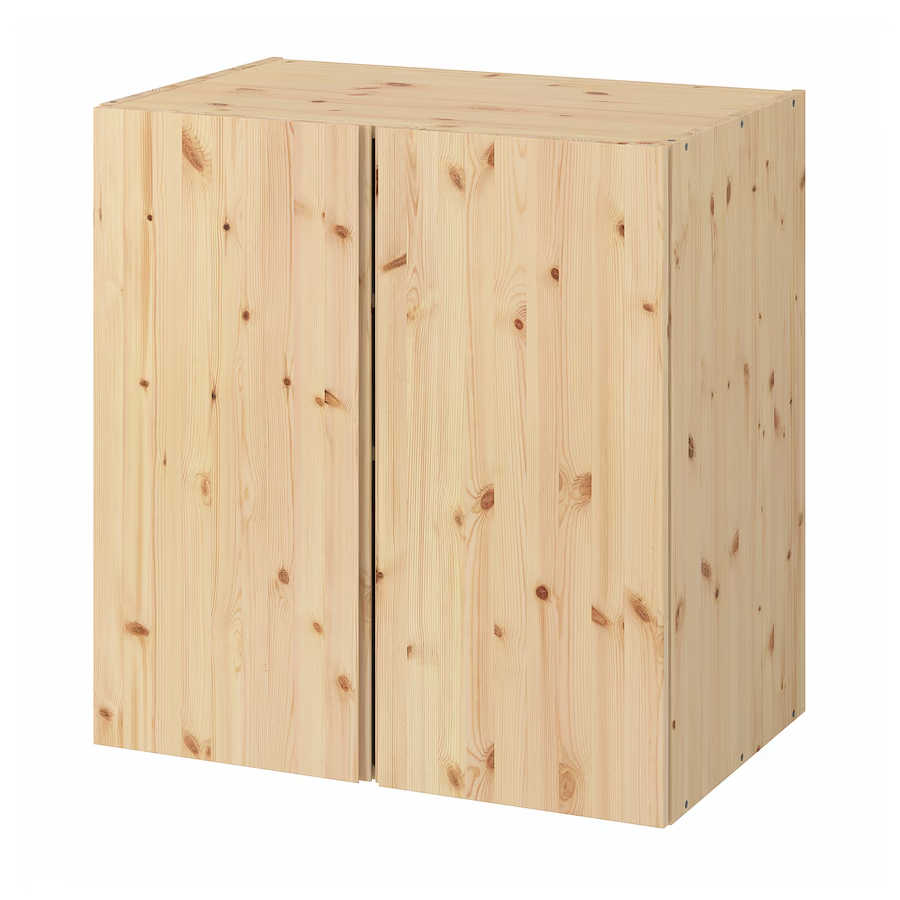
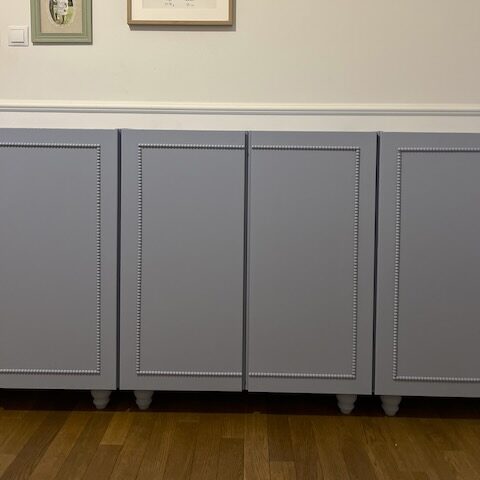
Step 1: Preparing the Wood for Painting
- Disassembly and cleaning: Start by taking the IVAR cabinet apart if it's already assembled. Make sure all parts are clean and dry. Wipe off dust and dirt with a damp cloth, then let the wood dry.
- Sanding: Lightly sand all surfaces with 120-150 grit sandpaper. The goal is to remove any unevenness and give the surface better paint adhesion. When you're done, thoroughly clean the dust off the surface. Of course, this only applies if the cabinet has been used before. If it's new, the previous step is enough.
Step 2: Gluing On the Decorations
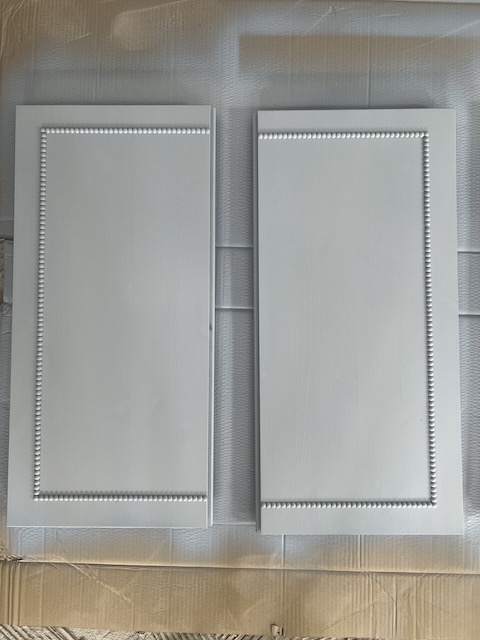
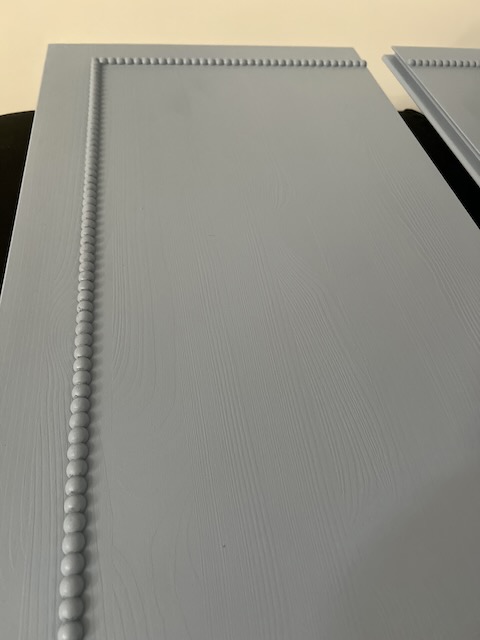
Choosing decorations: You can add decorative elements such as trim, wooden ornaments or decals to give the cabinet a retro look. Choose designs inspired by vintage aesthetics. In our case, it's wooden beads.
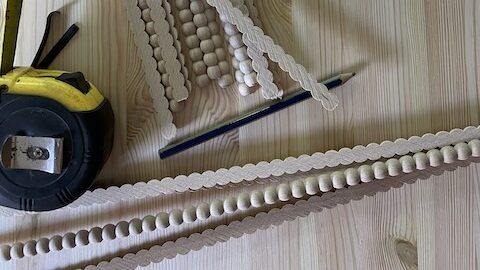
Attaching the decorations: Glue the decorations to the cabinet fronts with wood glue. Make sure they're evenly spaced and firmly attached. Let the glue dry according to the manufacturer's instructions. In my experience, about 1-2 hours is enough for the glue to set. In our case, we used only a little glue, since the decoration itself was very delicate.
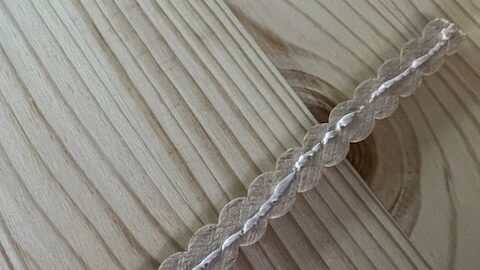
Step 3: Taping off the cabinet before painting
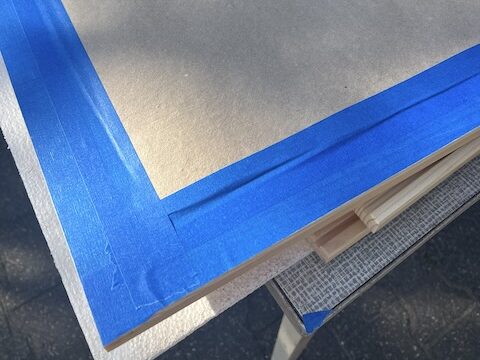
Protecting surfaces: Use painter's tape to cover the parts of the cabinet you want to leave untouched – for example, the inside of the cabinet or parts that should keep their natural wood color. You can also use plastic sheeting to protect larger areas. I wouldn't skimp on tape here – I recommend a better brand-name one so it doesn't come off the wood while you're painting. That could ruin the whole effect.
Step 4: Preparing the Paint and Spray Gun
- Choosing the paint: Choose paint suitable for wood, ideally an acrylic enamel in a retro color (e.g., dove blue, mint green, mustard yellow, powder pink). The paint should be durable and safe for children. In our case, we used Flügger Interior High Finish 5 – matte acrylic enamel for wood (5 l).
- Preparing the spray gun: Fill the spray gun with paint according to the manufacturer's instructions. Make sure the paint has the right consistency – if it's too thick, thin it with water as recommended. Flügger paints shouldn't be thinned, though, and a spray gun with a 2.5mm nozzle was enough. Some paints require a 3mm nozzle, but you'll need to check with the manufacturer before buying a spray gun.
Step 5: Painting the IKEA IVAR Cabinet
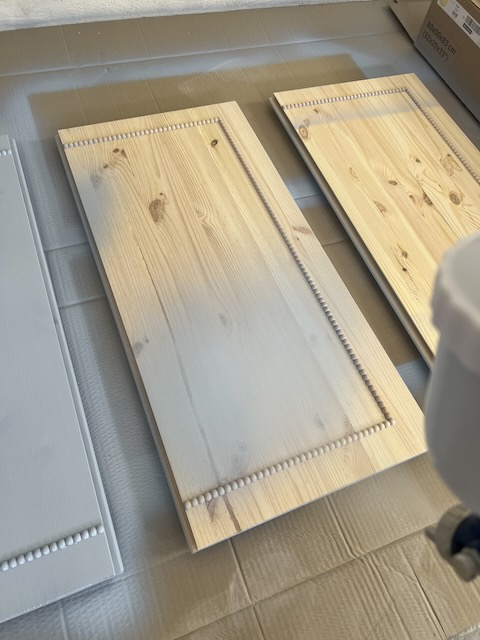
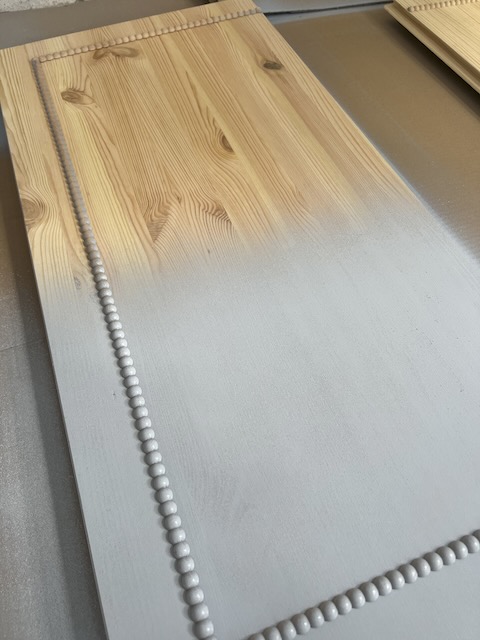
- First coat: Start with thin coats to avoid drips. Hold the gun about 20-30 cm (8-12 in) from the surface and move it evenly. I painted from right to left because the compressor needed to recharge, which made it easier to finish painting. The first coat of paint should be thin.
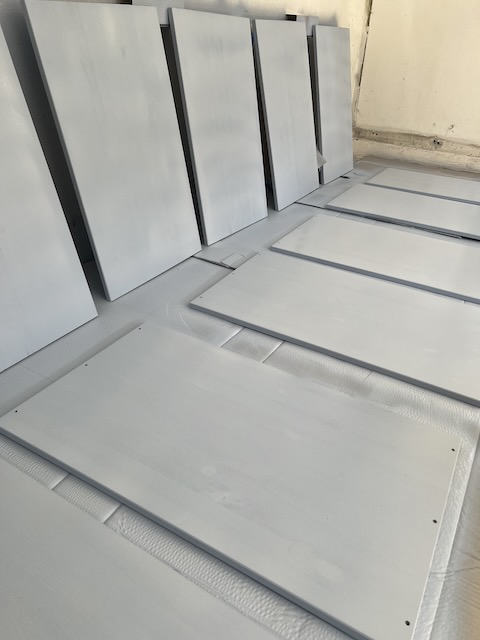
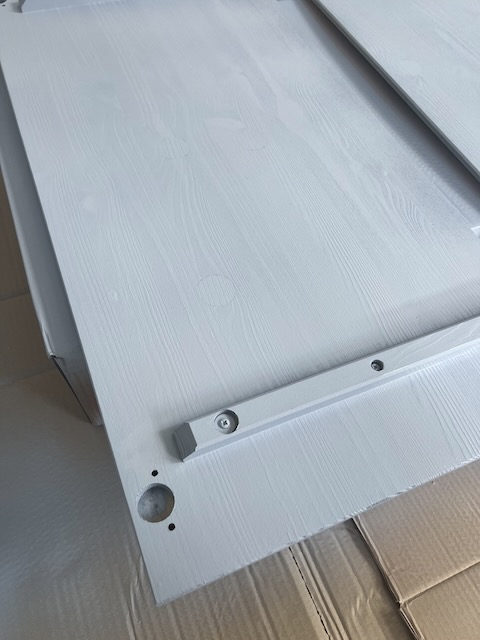
- Next coats: Once the first coat is dry (usually after 1-2 hours, depending on the paint), apply another coat. Repeat until you get the coverage you want – 2-3 coats are usually enough. In my case, the fronts needed 2 coats and the cabinet parts 3.
Step 6: Assembling the IKEA Cabinet
- Removing the painter's tape: Once the paint is completely dry, carefully remove the tape. In my opinion, it's better to remove the tape sooner rather than later so you don't get a hard edge. If you do find a hard edge after removing the tape, you can use very fine sandpaper and water to gently sand and blend it. I recommend trying this in the least visible spot first, though.
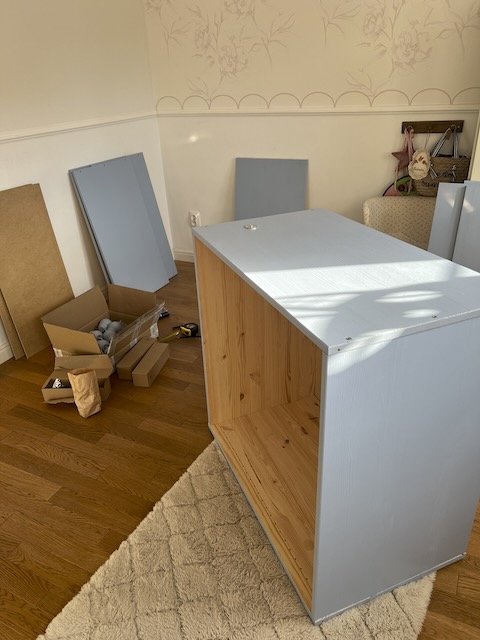
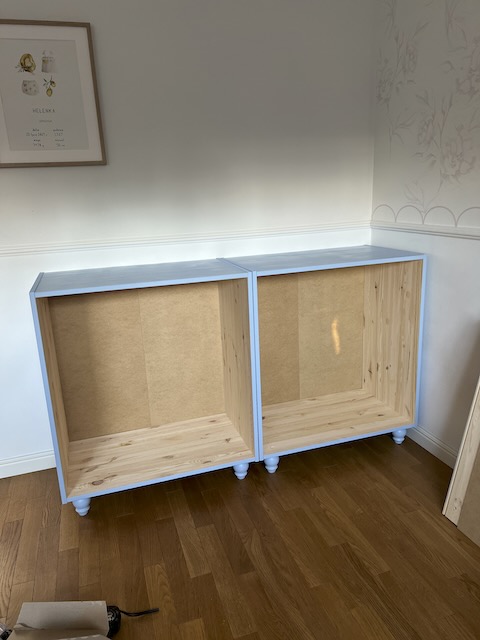
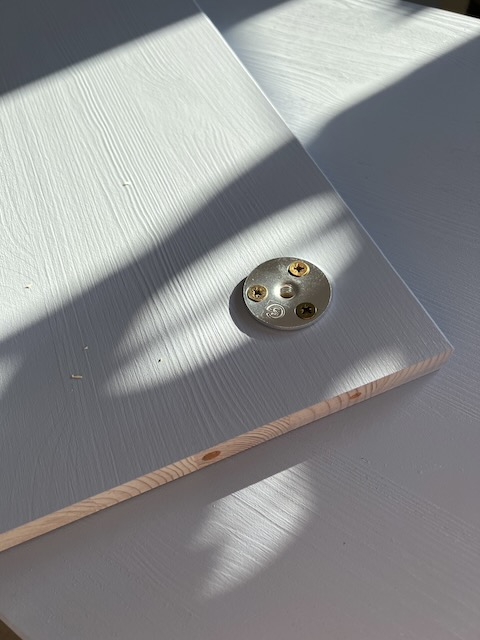
- Assembling the cabinet: Assemble the cabinet according to the IKEA instructions. Make sure all parts are firmly attached and the cabinet is stable.
Extra Tips
- Finishing touches: If you like, you can add retro-style handles or knobs for extra charm.
- Protection: Apply a clear varnish to the painted surfaces to protect them from scratches and wear.
Summary
Turning an IKEA IVAR cabinet into stylish retro furniture for a kids' room isn't just a way to save money – it's also great fun. With simple steps such as properly preparing the wood, decorating and painting, you can create a unique piece that adds character to any room.
Cost breakdown:
- 3 IKEA IVAR cabinets 80x50x83 cm – 1290 zł
- wooden beads – 70 zł
- cabinet legs – 140zł
- Flügger paint – 250 zł
- spray gun – 80 zł
- tape – 100 zł
Total: 1930 zł
Ready for a makeover? Give it a try and see how easy it is to breathe new life into simple IKEA furniture!
