



Guides for you
What Tools Will You Need to Install Wall Slats?
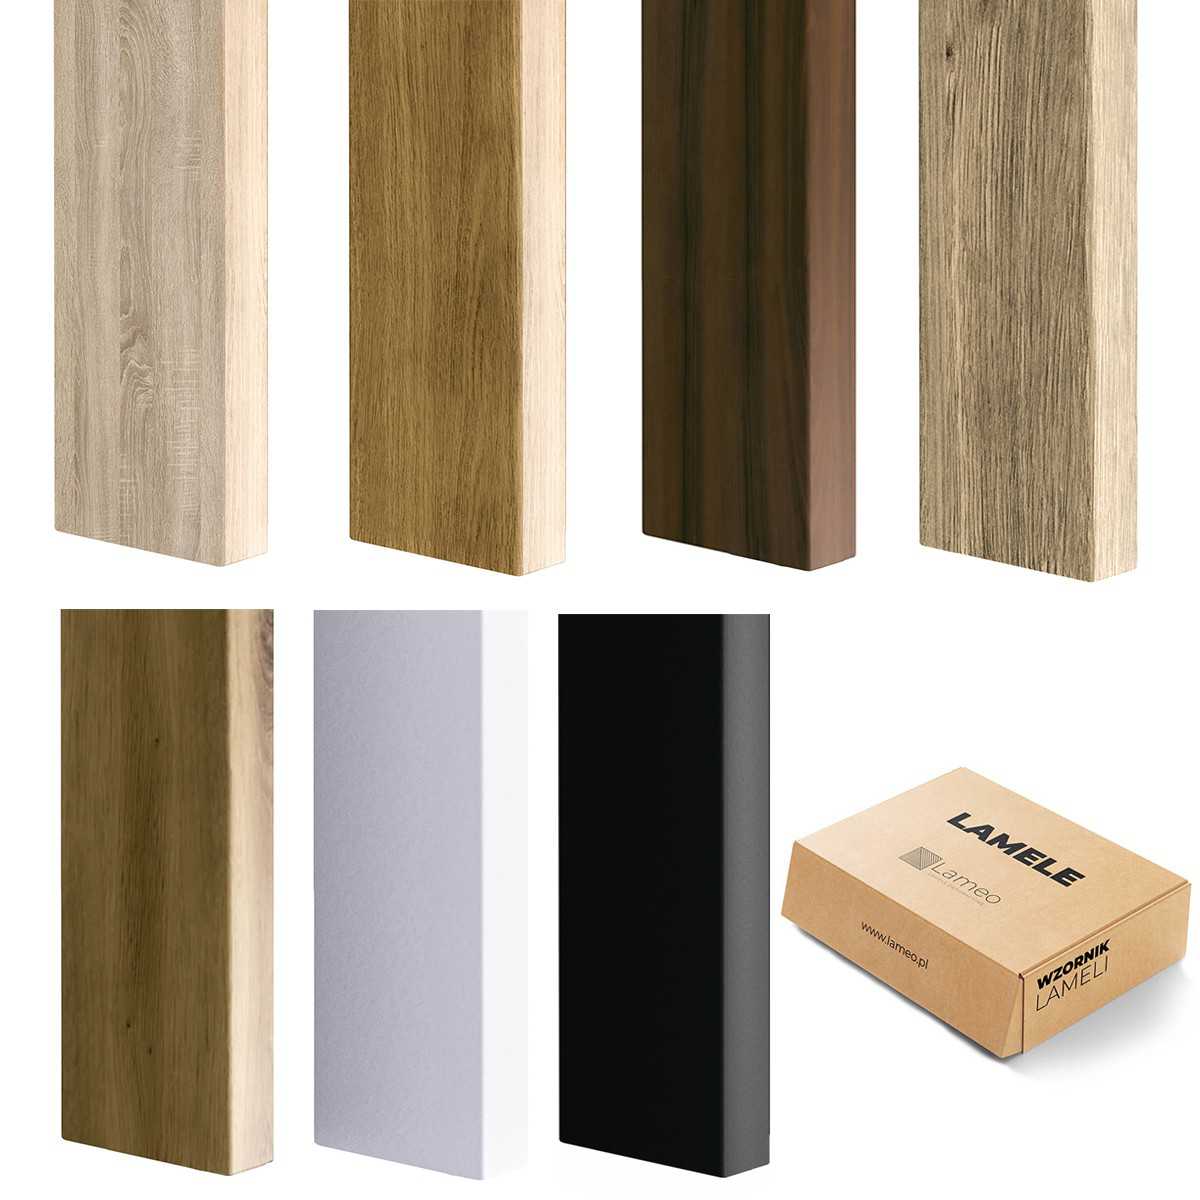
To install wall slats or ceiling slats properly, you'll mainly need a few simple tools. The basics are a drill with wood and masonry bits, plus: a level, a pencil, a tape measure, a carpenter's square, screws, wall anchors and construction adhesive.
If you're not ordering ready-made custom-size wall and ceiling slats, remember to get a wood saw too. That way, you can cut them precisely to the size you need and cover the cut edge with slat trim strips.
Once you've gathered everything you need, you can start the first steps of installing slats on the wall or ceiling.
Before you do, decide what kind of wooden slats you want to install. The main option is slats on a felt backing – they not only look great but also genuinely improve the room's acoustics.
Whether you're installing paintable slats, or any other kind of decorative wall material, you'll always need tools and building accessories. Without them, you won't be able to do the job precisely.
Installing slats with adhesive, on felt or on a panel – which should you choose?
It's always an individual decision. If you choose this decorative element for your home, you can install it in two ways. In practice, you can install slats on felt using a special adhesive. Just prepare the wall and ceiling surfaces properly, then spread adhesive on both the felt and the wall. Then simply press the element evenly against the surface and wait for the adhesive to set.
You can also install the slats with screws and wall anchors. This is a good way to attach slats to the ceiling. It gives you confidence that over time the material will stay exactly where it was installed, and you'll avoid fixes in the future.
An alternative is installing slats on the wall with double-sided adhesive tape. It's a convenient solution, but keep in mind that this mounting system has certain weight limits. If you plan to cover an entire wall with slats, choose classic adhesive or simply mount them permanently with screws and anchors.
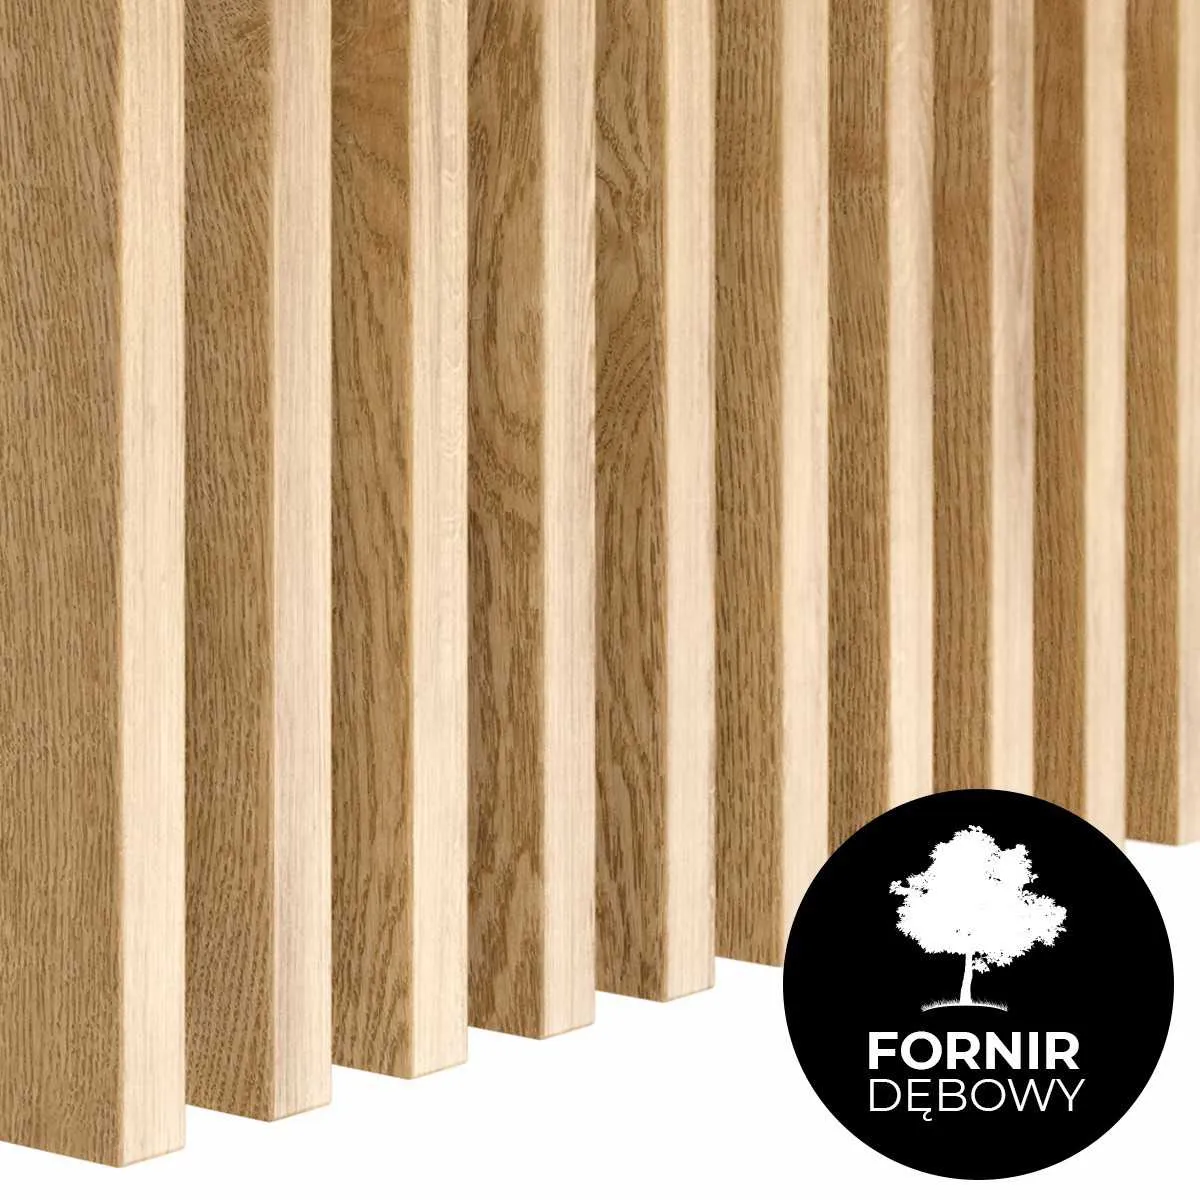
How to install wooden slats step by step?
In practice, installing slats on a ceiling or wall isn't complicated. You just need to follow a step-by-step guide. Prepare the necessary tools beforehand, as they'll make all the work much easier.
#Step 1 – Prepare the wall or ceiling
Make sure the surface is clean, dry and even. If there are holes, fill and sand them. Slats hold best on a smooth, hard surface.
#Step 2 – Measure and plan the layout
Mark guide lines with a pencil where the slats will go. Pay attention to even spacing between them – ideally use a level and spacer strips. This way, you'll avoid crooked lines and fixes.
#Step 3 – Cut the slats to size
Measure the height or width precisely, then cut the slats with a hand saw or miter saw. Always cut from the back so you don't damage the finish. Check each cut with a dry fit before gluing.
#Step 4 – Glue the slats to the wall or ceiling
Apply construction adhesive in dots or strips to the back of the slats. Press the slats against the surface for a few seconds. Don't slide them along the wall – this can weaken the bond. Alternatively, you can use mounting anchors and screws. Then wooden slats on the ceiling and walls will hold really firmly.
#Step 5 – Check plumb and spacing
After gluing a few pieces, check with a level that they're straight. If necessary, adjust their position before the adhesive sets. It's worth doing this as you go so you don't have to remove a whole row.
#Step 6 – Finish the installation and press the slats firmly
Once all the slats are glued, press them for a few minutes, e.g. with a board and a level. You can use painter's tape to hold them in place temporarily. Leave them for a few hours until the adhesive is completely dry.
You don't need specialist tools or skills to install slats on a panel or felt yourself. All it takes is a day off, basic tools, adhesive and a bit of technical know-how – just the basics.
Whether you're planning to glue slats or install other wall decorations such as molding with wallpaper – you can install it all yourself. Follow the instructions, take your time and use proven materials. That's the guarantee you'll create a beautiful wall or ceiling decoration without needing fixes.
Also check out our guide: How to hang vinyl wallpaper?
Installing slats in tricky spots – slopes, corners and other challenges
Remember, installing slats in tricky spots requires precision and a good plan. Slopes, corners or ceilings are a challenge, but you can handle them without a professional. Use a few helpful tips:
- you can hide any unevenness after cutting wooden slats with special end trims;
- where appearance matters most, use construction adhesive instead of anchors and screws;
- on uneven walls, use additional panels with a substructure of MDF battens;
- always use a level during installation so the lines stay straight even on slopes.
In corners, install the slats at a 45° angle. Then the wall decoration looks practically perfect.
How to attach slats to the ceiling?
Ideally with strong construction adhesive or special expansion anchors in the ceiling. This way, you can be sure the wooden slats will stay on the ceiling for many years without the risk of falling.
How to install an outlet in slats?
Cut an opening in the slats to fit the electrical box and mount the box in the wall behind the panels, running the wires through the gaps between the slats. Screw the outlet to the box and press the slats in on both sides to neatly conceal it.
How to mount a mirror on slats?
Use special mounting tapes or mirror adhesive – apply them to the back of the mirror, pressing it against the raised parts of the slats. If the mirror is heavy, add point fixings between the slats, screwed into the wall.
