


uncategorized, Blog, Boy's room, Room for kids aged 0–2, Room for kids aged 3–6, Girl's room, Nursery, Siblings' room, Guides for you
How to apply a wall decal without bubbles: step-by-step instructions
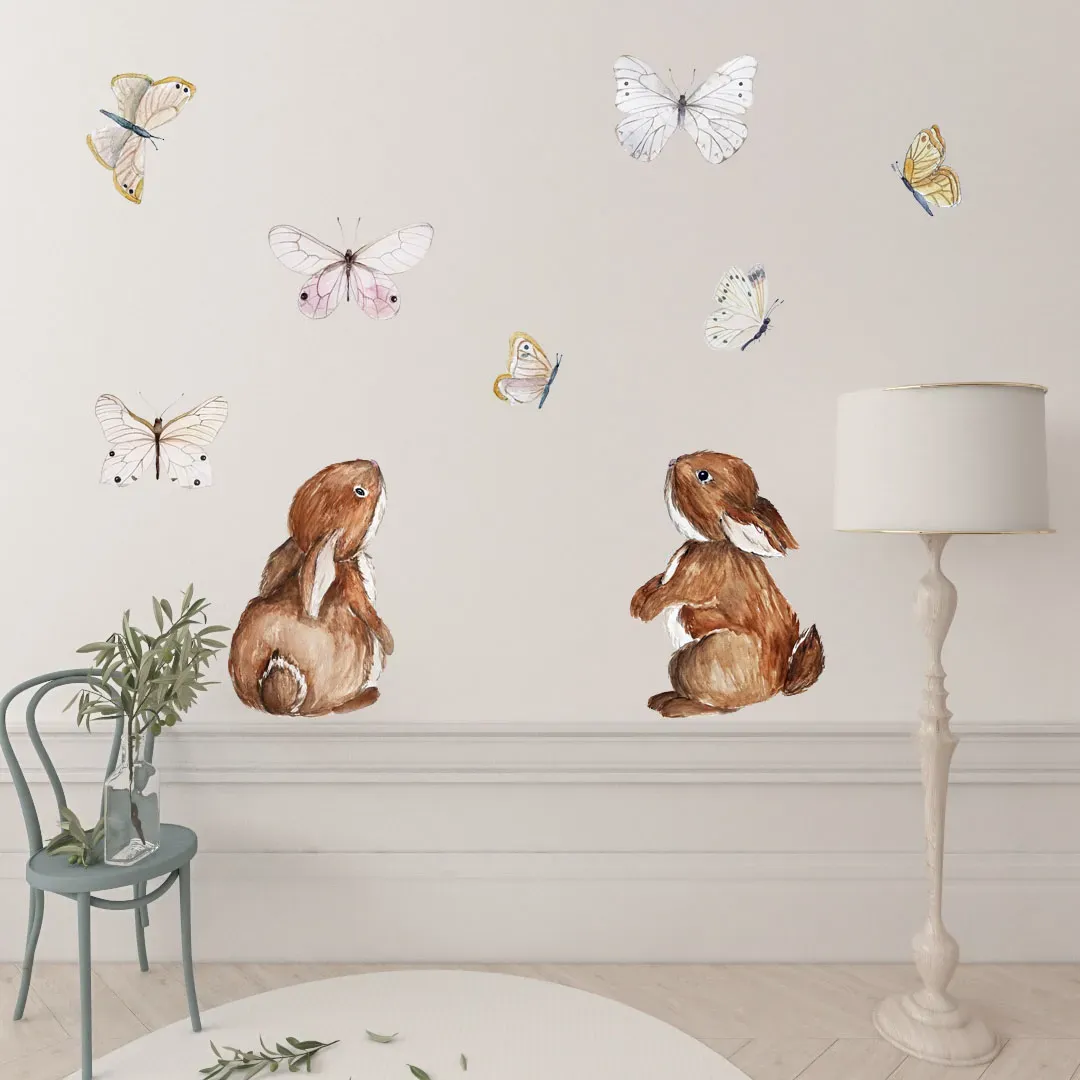
How do you change the look of a room quickly and cheaply? Wall decals are the answer. They don't cost much, and they're very easy to apply. Small mistakes can ruin the intended effect, but don't worry – we know how to avoid them. A well-applied decal will last for years and look like new the whole time. Below you'll find a handful of tips to help you apply wall decals like a pro.
How to apply a wall decal without bubbles: step-by-step instructions
What does a perfectly applied wall decal look like? It's simple – it has to be smooth, with no air bubbles trapped underneath. If you want that perfect result, the first thing you need is patience. Applying kids' wall decals requires care, as the decal itself is usually bigger than the kind you stick in a notebook.
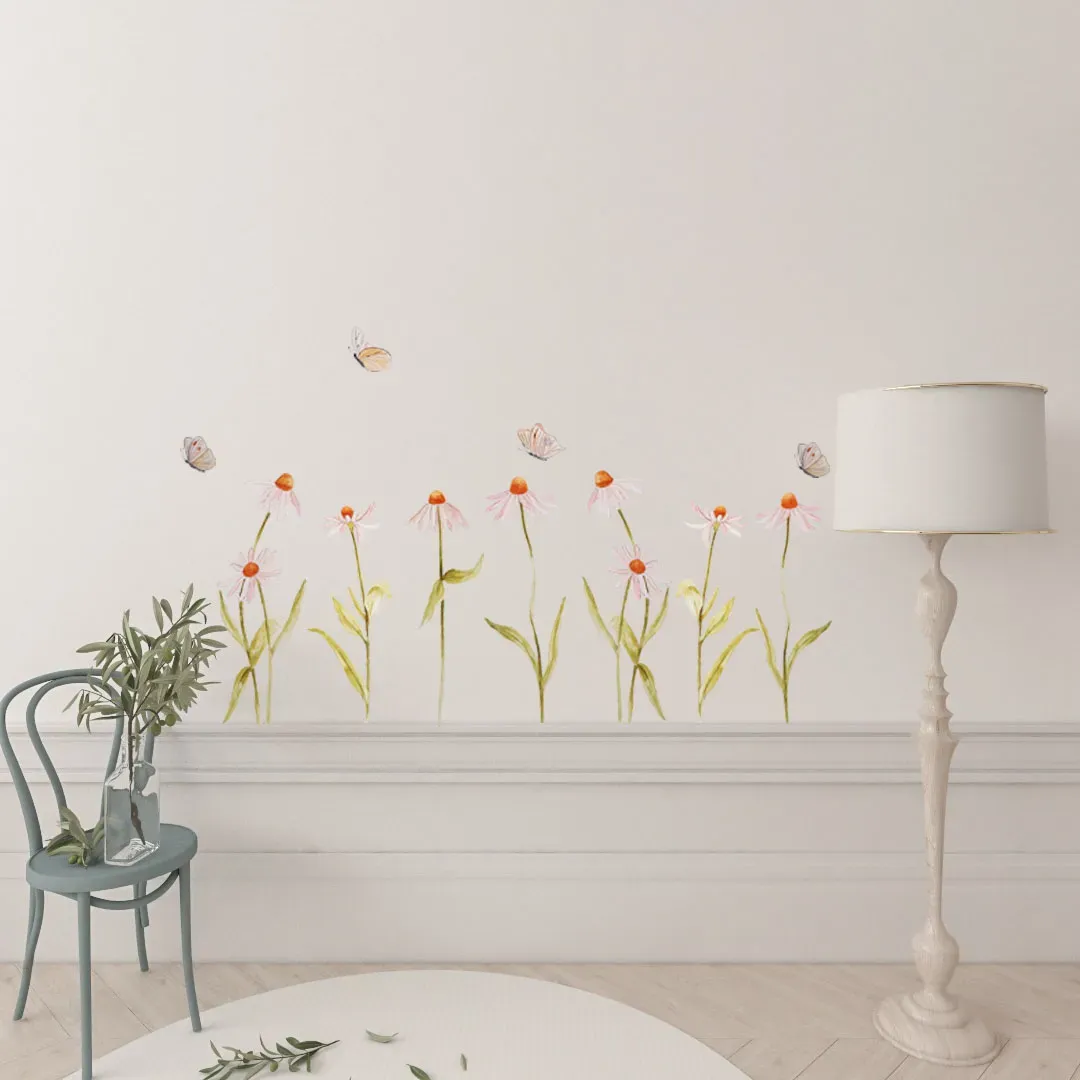
Step 1: Prepare the wall. You'll find details in the next section.
Step 2: Plan the placement of the decal or decals carefully. You can lightly mark reference points on the wall with a pencil or chalk.
Step 3: Gently peel back a few centimeters (about an inch) of the backing paper at the top of the decal and stick the decal to the wall in the chosen spot.
Step 4: Gradually peel off more of the backing paper while sticking and pressing the decal to the wall. If the decal is wide, use a squeegee.
Step 5: Finally, smooth the whole decal by pressing it to the wall. Stick and press the edges carefully – they're the most likely to peel.
Step 6: Check the result. If you notice an air bubble in the middle of the decal… prick it with a pin and press the decal to the wall.
Preparing the wall is key! Proven ways to create the perfect surface for decals
High-quality boys' wall decals or girl's room decals are the key to success, but even the best wall decals may not last if the surface is poorly prepared. Not every wall is ready for decals, but any wall can be properly prepped.
Decals don't like dust, dirt or grease, so the wall should be clean where you're going to apply them. Washing it with warm water and dish soap is enough. Wait until the wall is completely dry.
If the wall is uneven, sand it where the decal will go. Don't apply decals to walls with textured plaster or textured paint. Decals really don't like unevenness, even minor.
Remember that decals shouldn't be applied to freshly painted walls. Three weeks between painting and applying is the absolute minimum. In the meantime, you can read the article: Arranging dinosaur decals in a kids' room.
How to keep a decal from peeling? Learn the most common mistakes and how to fix them.
Why do decals peel or slide? There are several reasons. The most common are:
A decal that peels at the corners or slides down over time – we know the drama. Here's what's most often to blame:
-
applying the decal to a dirty or damp wall,
-
applying it to an uneven wall,
-
touching the adhesive side with your fingers – avoid this, as it weakens adhesion, especially at the edges.
-
applying decals in a cold room – you shouldn't apply decals to a wall if the temperature is below 10°C (50°F).
-
a cheap, low-quality decal – there's no point skimping on decorations that should last several years.
How to save a peeling decal?
There are two ways. If only a corner is peeling, clean that part of the wall and stick the decal back on. You can use wallpaper adhesive.
If the whole decal is “coming away” from the wall, try warming it with a hair dryer set to warm, not hot. The heat can reactivate the adhesive. Press the decal firmly to the wall.
How to apply irregularly shaped wall decals?
The most decorative wall decals are the large ones with irregular shapes. Dog wall decals, flowers, animals and car wall decals require more care when applying, but the result is definitely worth the effort.
When applying large, irregularly shaped decals, a second person will come in handy – one holds and slowly peels off the backing paper, while the other presses the decal to the wall.
The top-down rule doesn't always work – sometimes it's worth applying from left to right or the other way around. In extreme cases, you can even start from the bottom.
Pay special attention to small elements and tips. These spots are the most likely to peel off.
When it comes to preparing the wall, the same rules apply as for regularly shaped decals.
Do wall decals need extra adhesive?
Good-quality wall decals don't need extra adhesive. They're self-adhesive, and the adhesive they come with is more than enough.
But if practice doesn't match theory, or you're dealing with a lower-quality decal, you can help it along with wallpaper adhesive or a glue stick.
How do you apply a decal to a wall quickly? Do it slowly, and you'll surely get it right the first time, with no need for redos or fixes. The key is patience and precision.
Also read about which colors for a kids' room work best on walls and decals. It will certainly help you make your choice.
