A guide for you
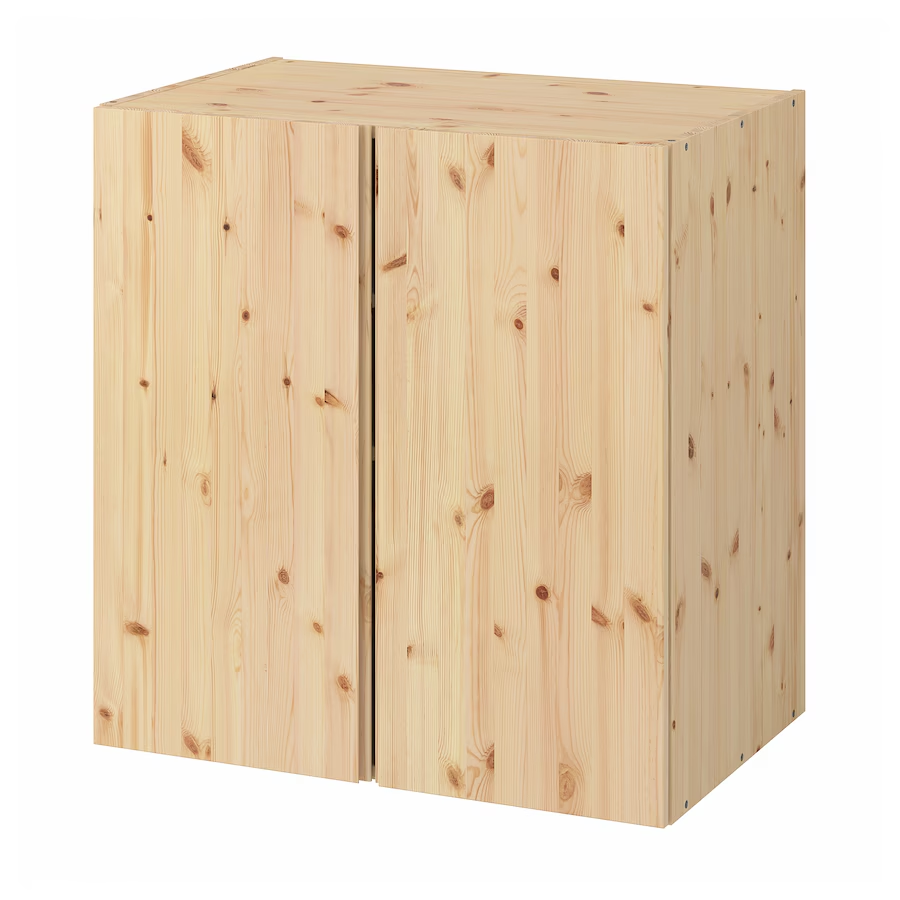
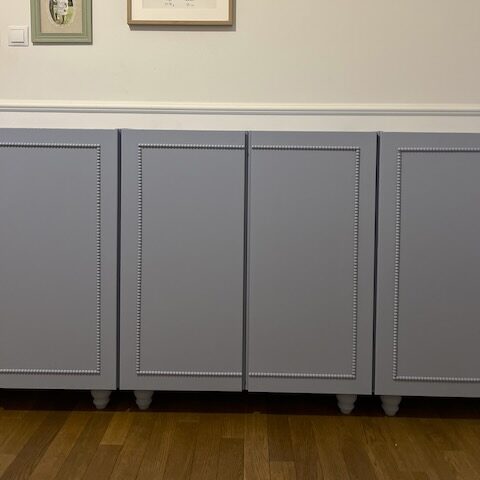
A stylish retro piece of furniture for a child's room from IKEA IVAR cabinet -.
Arranging a child's room in retro style can not only be aesthetically pleasing, but also wallet-friendly. Today I'm going to show you how to redecorate a cabinet step by step IKEA IVAR For a stylish, retro piece of furniture perfect for a child's room. The design is simple and the end result is sure to delight you!
Step 1: Preparing the Wood for Painting
- Disassembly and Cleaning: Start by disassembling the IVAR cabinet if it is already assembled. Make sure all parts are clean and dry. Wipe off dust and dirt with a damp cloth, then let the wood dry.
- Grinding: Gently sand all surfaces with 120-150 grit sandpaper. The goal is to remove any irregularities and give the surface better adhesion for paint. When finished, thoroughly clean the surface of dust. All, of course, if the cabinet was previously used. If it is new, only the previous step is sufficient.
Step 2: Apply the Decoration
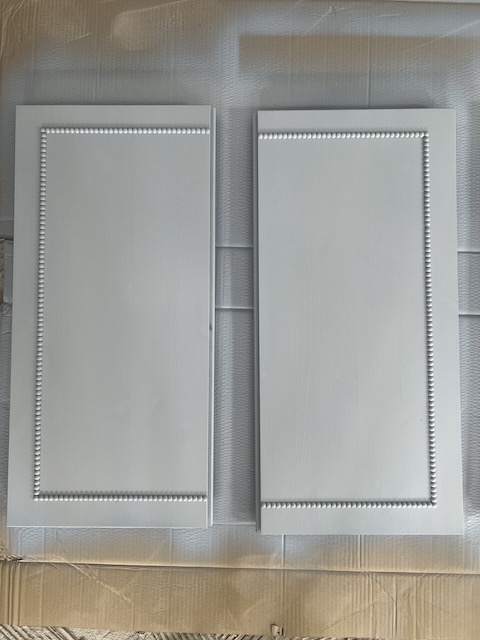
Selection of Decorations: You can add decorative elements such as moldings, wooden ornaments or stickers to give your cabinet a retro feel. Choose patterns that relate to vintage aesthetics. In our case, these are wooden beads.
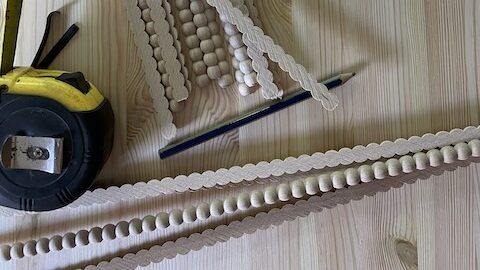
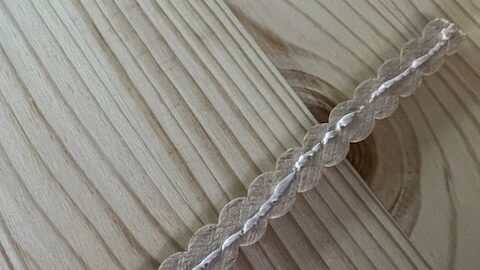
Fixing Decorations: Glue the decorations to the cabinet fronts using wood glue. Make sure they are evenly spaced and adhere thoroughly. Let the glue dry according to the manufacturer's instructions. In my opinion, about 1-2h is enough for the glue to set. In our case, the amount of glue was small because the decoration itself was also very delicate.
Step 3: Tape the cabinet before painting
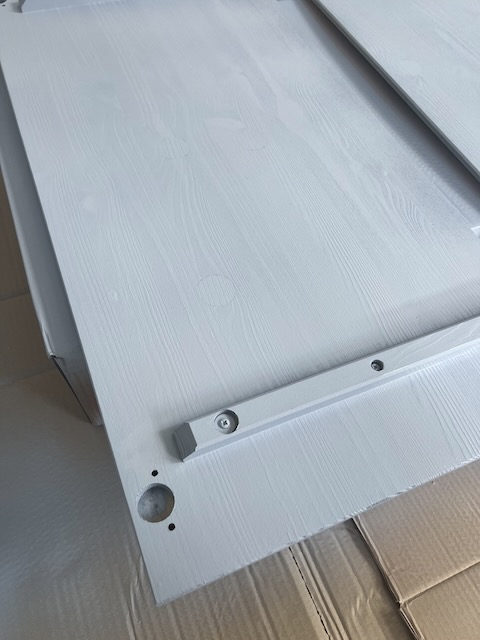
Surface Protection: Wrap painter's tape around the parts of the cabinet that you want to leave intact - for example, the inside of the cabinet or the parts that you want to keep the natural color of the wood. You can also use painter's film to protect larger areas. In this case, I wouldn't skimp on the tape rather I recommend choosing a better branded one, so that it doesn't come away from the wood during painting. This can spoil the whole effect.
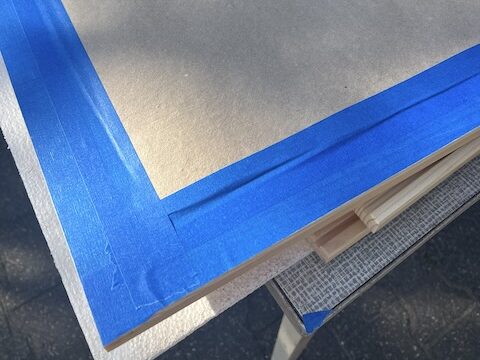
Step 4: Preparing the Paint and Spray Gun.
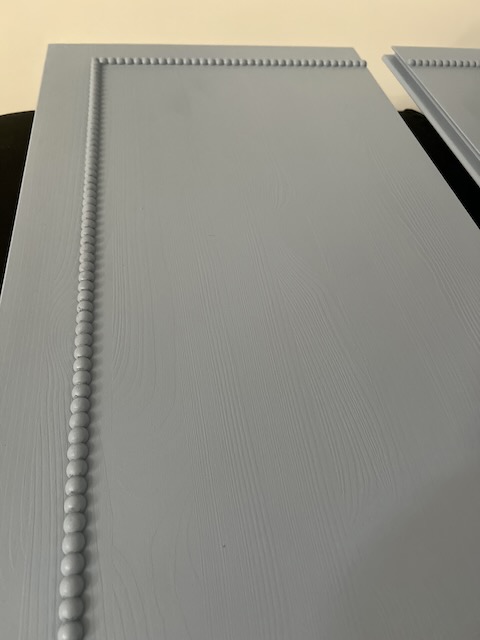
- Paint Selection: Choose a paint suitable for wood, preferably acrylic enamel in a color that fits the retro style (such as dove blue, mint green, mustard yellow, powder pink). The paint should be durable and safe for children. In our case, the paint used was Flügger Interior High Finish 5 - acrylic wood enamel in matte. 5l.
- Preparing the Gun: Fill the spray gun with paint, according to the manufacturer's instructions. Make sure the paint is the right consistency - if it is too thick, dilute it with water as recommended. As for Flugger paint, it should not be thinned and the gun was sufficient with a 2.5mm nozzle. Some paints require 3mm but here you need to ask the manufacturer before buying the gun.
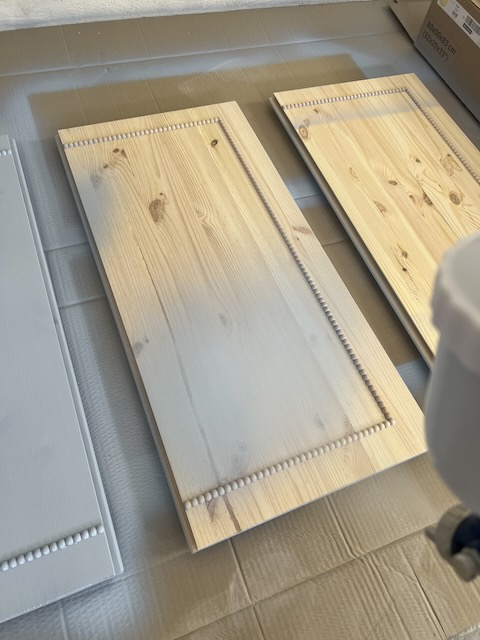
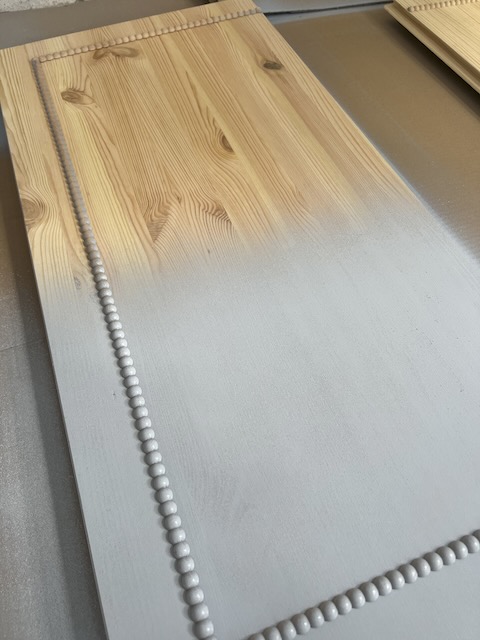
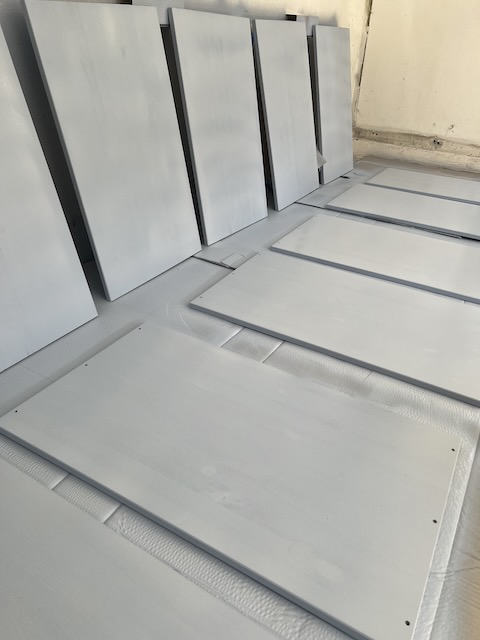
Step 5: Painting IKEA IVAR Cabinet
- First Layer: Start painting with thin layers to avoid streaks. Hold the gun about 20-30 cm from the surface and move it evenly. I painted from right to left due to the fact that the compressor needed to recharge and it was easier to finish painting. The first coat of paint should be thin.
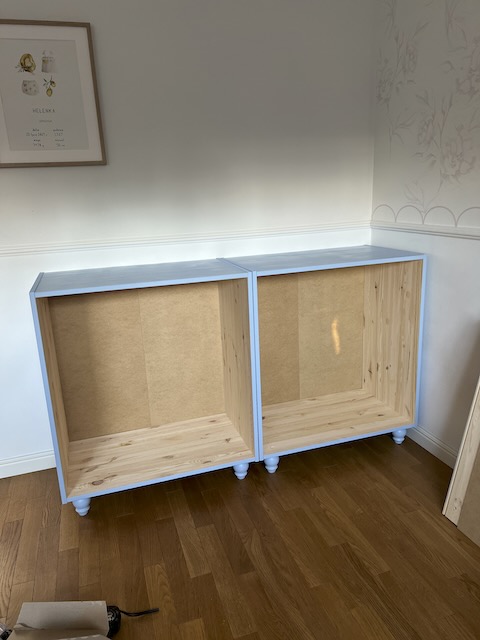
- More Layers: After the first coat has dried (usually after 1-2 hours, depending on the paint), apply another coat of paint. Repeat this step until you get the desired opacity - usually 2-3 coats are enough. In my case, the fronts only needed to be painted 2 times while the cabinet pieces needed to be painted 3 times.
Step 6: Screwing together the IKEA Cabinet
- Dismantling the Painter's Tape: After the paint is completely dry, carefully remove the painter's tape. In my opinion, you should remove the tape as soon as possible rather than later, so that there is no hard cutoff. However, if, after tearing off the tape, you would find that there is such a cutoff, you can use very fine sandpaper and water to gently sand and mask the cutoffs. However, I recommend trying it in the least visible place first.
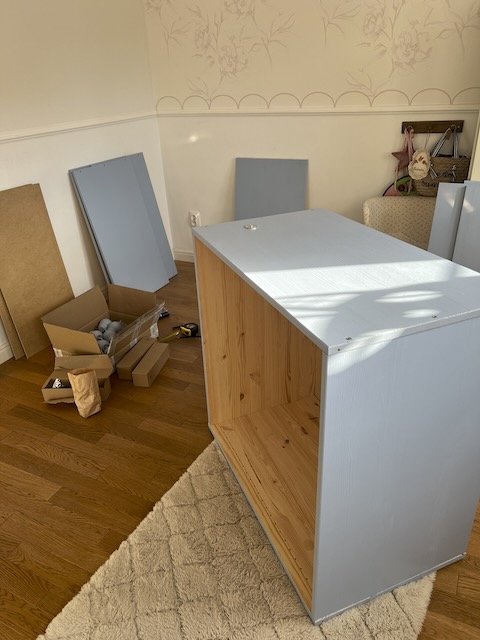
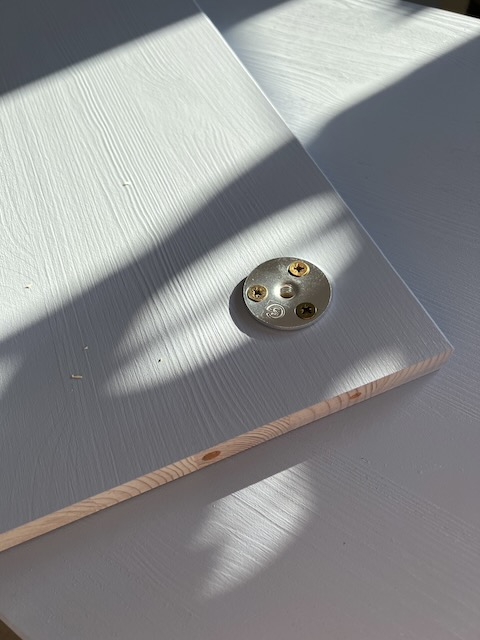
- Turning the Cabinet: Screw the cabinet together according to IKEA instructions. Make sure all parts are firmly attached and the cabinet is stable.
Additional Tips
- Finishing: If you want, you can add retro-style handles or knobs to add extra charm to the cabinet.
- Security: Apply a clear coat to painted surfaces to protect them from scratches and wear.
Summary
Converting an IKEA IVAR cabinet into a stylish, retro piece of furniture for your child's room is not only a way to save money, but also a lot of fun. With simple steps such as proper wood preparation, decorating and painting, you can create a unique piece of furniture that will add character to any interior.
Cost estimate:
- 3 cabinets IKEA IVAR 80x50x83 cm - 1290zl
- wooden beads - PLN 70
- cabinet feet - 140zł
- Flugger paint - PLN 250
- paint guns - PLN 80
- tapes - PLN 100
Total: PLN 1930
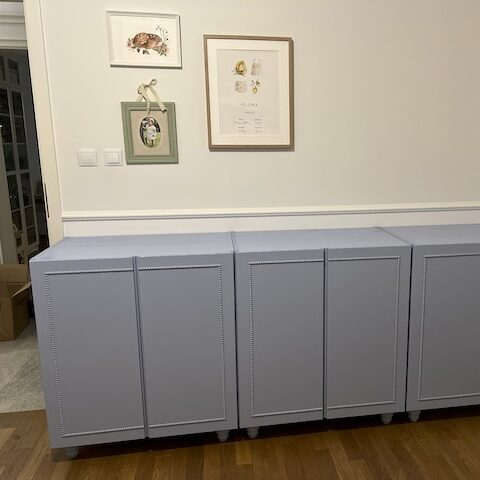
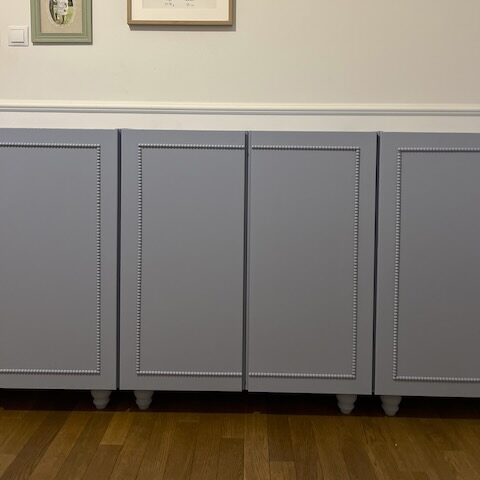
Ready for a metamorphosis? Try it and see how easy it is to give new life to simple furniture from IKEA!
